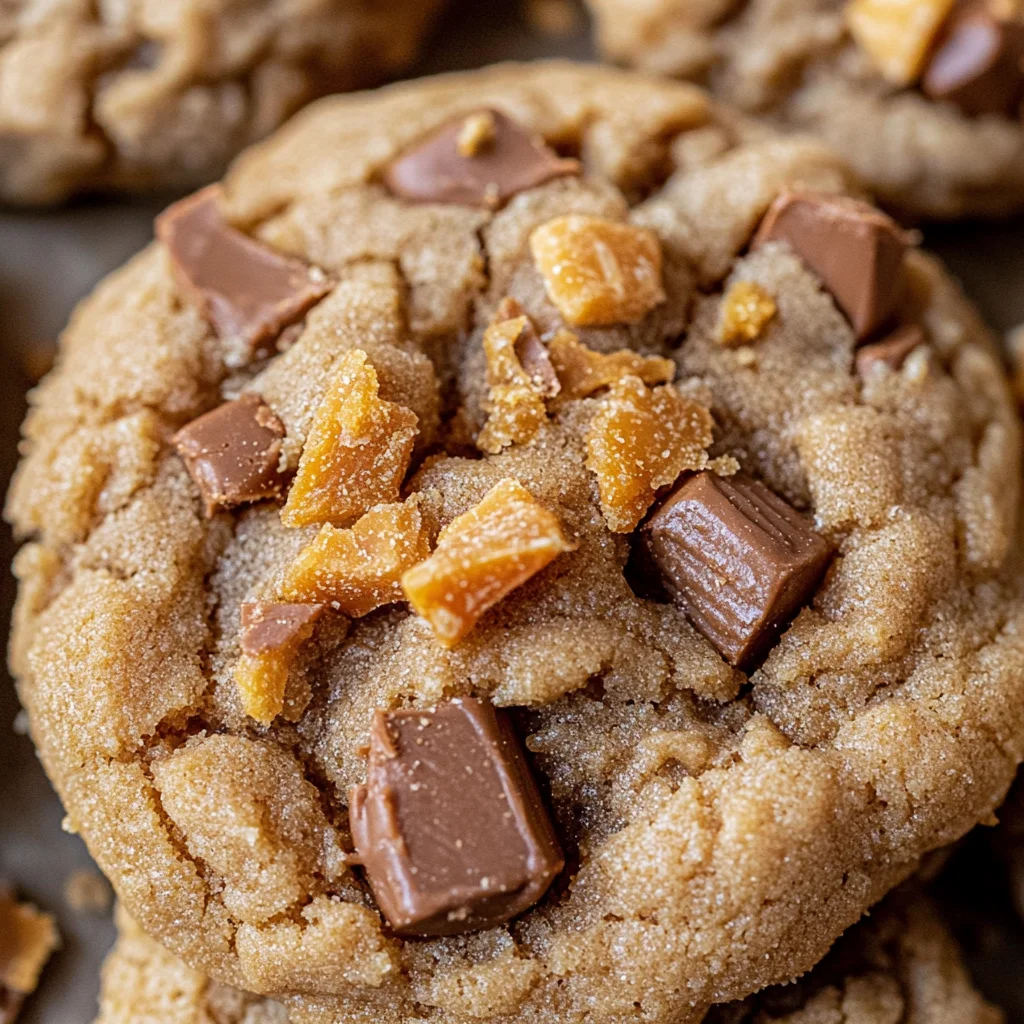
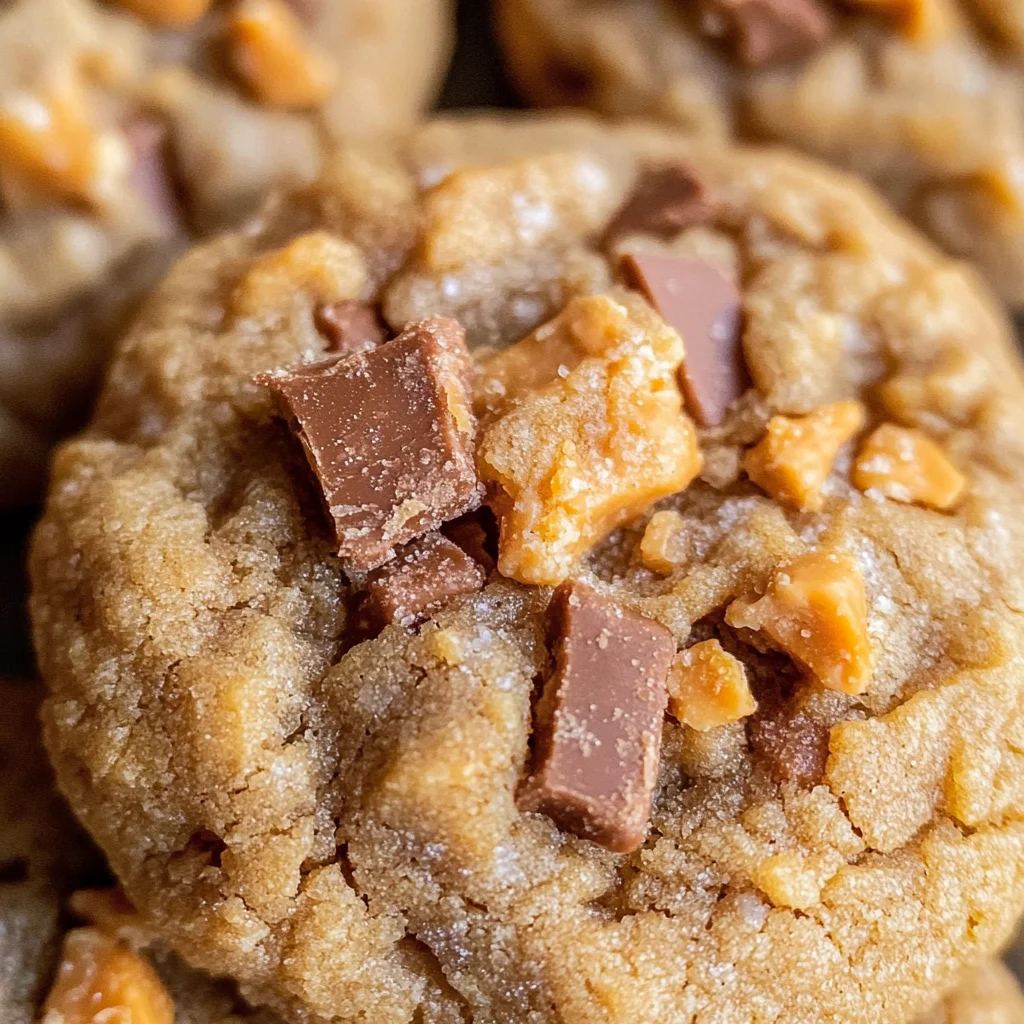
These Peanut Butter Butterfinger Cookies are a game changer! If you’ve ever thought peanut butter cookies couldn’t get any better, think again. By adding chopped Butterfinger bits, you’re in for a treat that’s delightfully soft and thick with a crunchy twist. Perfect for parties, after-school snacks, or simply indulging yourself, these cookies will elevate your dessert experience to new heights.
Why You’ll Love This Recipe
- Irresistible Flavor: The combination of peanut butter and Butterfinger creates a sweet and salty flavor explosion.
- Easy to Make: With straightforward steps, even novice bakers can achieve cookie perfection.
- Versatile Treat: Great for any occasion, whether it’s a birthday party or just an afternoon pick-me-up.
- Freezer-Friendly: Make a batch ahead of time and enjoy fresh cookies whenever you want!
- Crowd-Pleaser: Everyone loves cookies, and these are sure to impress family and friends.
Tools and Preparation
Having the right tools makes baking easier and more enjoyable. Gather the essentials before you start making these delicious Peanut Butter Butterfinger Cookies.
Essential Tools and Equipment
- Stand mixer or large mixing bowl
- Measuring cups and spoons
- Baking sheets
- Parchment paper or silicone baking mats
- Cookie scoop (optional)
- Wire rack
Importance of Each Tool
- Stand mixer: This tool ensures that your ingredients blend evenly without the effort of manual mixing.
- Baking sheets: A good quality baking sheet helps cookies bake evenly and prevents sticking.
- Cookie scoop: Using a scoop helps create uniform cookie sizes for even baking.
Ingredients
Here’s what you’ll need to whip up these delightful Peanut Butter Butterfinger Cookies:
- 3/4 cup butter (softened, 1 and 1/2 sticks)
- 1/2 cup granulated sugar
- 1/2 cup brown sugar (packed)
- 1 cup peanut butter (don’t use natural pb)
- 1 large egg
- 1 and 1/2 teaspoons vanilla
- 1 and 1/2 cups all-purpose flour (spooned and leveled)
- 1/2 teaspoon baking soda
- 1/2 teaspoon baking powder
- 1/4 teaspoon kosher salt
- 16 ounces butterfinger (chopped)
How to Make Peanut Butter Butterfinger Cookies
Step 1: Prepare the Dough
In a large bowl or stand mixer, beat the softened butter until it’s smooth and creamy. Scrape the sides of the bowl to ensure all ingredients are mixed well.
Step 2: Add Sugars
Add granulated sugar and packed brown sugar, beating until fluffy. This should take about 2 minutes; no chunks of butter should remain.
Step 3: Mix in Peanut Butter
Add the peanut butter to the mixture. For best results, stick with Jif brand. Mixing is easier when using an adjustable measuring cup.
Step 4: Combine Wet Ingredients
With everything in the bowl, add one large egg and vanilla extract. Beat until fully combined while scraping down the sides as needed.
Step 5: Incorporate Dry Ingredients
Spoon the all-purpose flour into your measuring cup before leveling it off. Add it to your mixture but don’t stir yet. Sprinkle baking soda, baking powder, and kosher salt over the flour. Use a teaspoon to combine these dry ingredients slightly.
Step 6: Mix Dough Together
Turn on your mixer to combine everything gently. Be careful not to overmix; stop once you see some flour is still visible in the dough.
Step 7: Add Butterfingers
Gently fold in the chopped Butterfingers until just incorporated. If you find Butterfinger Bits, feel free to use those as they make for easier mixing!
Step 8: Chill Dough
Cover your mixing bowl with plastic wrap or a lid and chill in the fridge for at least 15 minutes up to an hour—or even longer if desired.
Step 9: Preheat Oven
While your dough is chilling, preheat your oven to 350 degrees F. Prepare two baking sheets by lining them with parchment paper or silicone mats.
Step 10: Shape Cookies
Using your hands or a cookie scoop, shape the dough into balls about two inches wide. Place them on a prepared baking sheet leaving space between each cookie.
Step 11: Bake
Bake cookies at 350 degrees F for around ten minutes. They should be puffy with set edges but not shiny in the center.
Step 12: Cool Down
Allow cookies to cool on the pan for at least five minutes before transferring them to a wire rack for complete cooling.
Enjoy these Peanut Butter Butterfinger Cookies as they are best enjoyed once they’ve reached room temperature!
How to Serve Peanut Butter Butterfinger Cookies
These Peanut Butter Butterfinger Cookies are a delicious treat that can be enjoyed in many ways. Here are some serving suggestions to elevate your cookie experience.
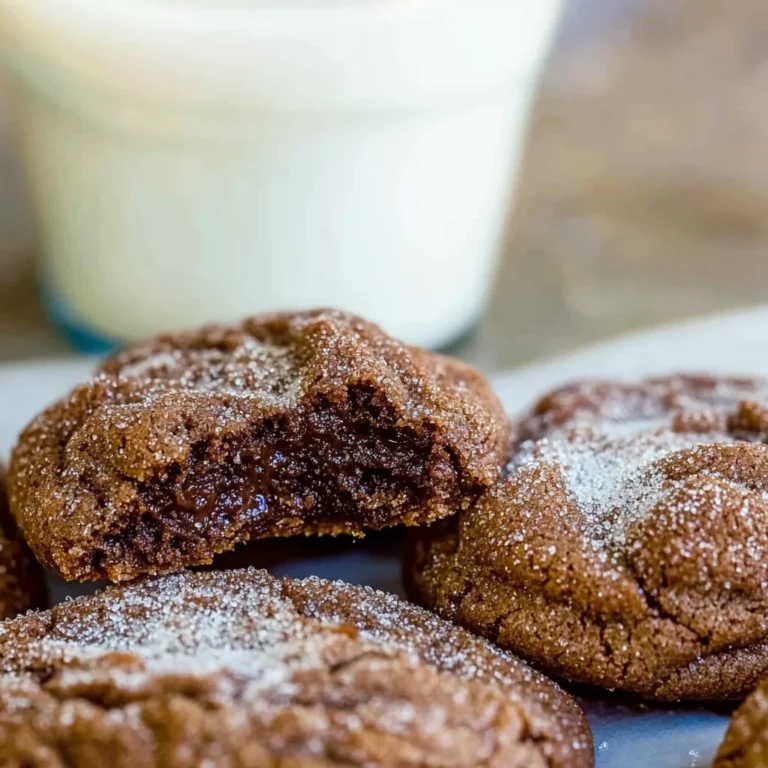
With a Glass of Milk
- A classic pairing that balances the sweetness of the cookies and enhances their peanut butter flavor.
As an Ice Cream Sandwich
- Place a scoop of vanilla or chocolate ice cream between two cookies for a decadent dessert.
Drizzled with Chocolate
- Melt some chocolate and drizzle it over the cookies for an extra touch of indulgence.
On a Dessert Platter
- Arrange the cookies on a platter for parties, making them an eye-catching centerpiece at any gathering.
Crumbled Over Yogurt
- Add crushed cookies as a topping on yogurt or parfaits for added crunch and flavor in your breakfast or snack.
How to Perfect Peanut Butter Butterfinger Cookies
To achieve the best results when making Peanut Butter Butterfinger Cookies, follow these tips for perfection.
-
Use Room Temperature Ingredients: Make sure your butter and egg are at room temperature. This helps them mix more easily, resulting in a smoother dough.
-
Measure Flour Correctly: Spoon flour into your measuring cup instead of scooping directly. This avoids packing too much flour, which can make cookies tough.
-
Don’t Overmix the Dough: Combine the ingredients until just incorporated. Overmixing can lead to dense cookies, so stop mixing as soon as the flour disappears.
-
Chill the Dough: Refrigerating dough for at least 15 minutes helps prevent spreading during baking, allowing for thicker cookies with a perfect texture.
-
Adjust Baking Time: Keep an eye on your cookies as they bake. They should be puffy but set around the edges; remove them even if they look slightly underbaked for chewy centers.
Best Side Dishes for Peanut Butter Butterfinger Cookies
Pairing side dishes with your Peanut Butter Butterfinger Cookies can enhance your dessert experience. Here are some ideas to consider:
-
Milkshake: A creamy milkshake complements the cookie flavors perfectly, creating a delightful treat combination.
-
Fresh Fruit Salad: A refreshing fruit salad balances the sweetness of the cookies while adding health benefits and color to your plate.
-
Chocolate Fondue: Serve alongside melted chocolate for dipping, offering an interactive dessert experience that’s fun and delicious.
-
Peanut Butter Dip: Pair these cookies with a peanut butter dip made from cream cheese and powdered sugar for extra peanut butter goodness.
-
Coffee or Espresso: A warm cup of coffee or espresso provides a rich contrast to sweet cookies, enhancing their flavor profile.
-
Ice Cream Sundae Bar: Set up a sundae bar where guests can create their own sundaes using these cookies crumbled on top along with various toppings.
Common Mistakes to Avoid
Baking Peanut Butter Butterfinger Cookies is a delightful experience, but there are some common pitfalls to watch out for.
- Using Natural Peanut Butter: Natural peanut butter can alter the texture of your cookies. Always use regular peanut butter for best results.
- Overmixing the Dough: Mixing too much can lead to tough cookies. Mix until just combined for soft, chewy results.
- Ignoring Chill Time: Skipping the chilling step may result in cookies that spread too much. Give your dough at least 15 minutes in the fridge.
- Not Measuring Flour Correctly: Scooping flour directly from the bag packs it down, leading to dry cookies. Spoon flour into the cup and level it off for accuracy.
- Baking on a Cold Sheet: Always preheat your oven and use a lined or greased baking sheet to ensure even baking.
Storage & Reheating Instructions
Refrigerator Storage
- Store cookies in an airtight container for up to 3 days to keep them fresh and delicious.
- For optimal flavor, layer cookies with parchment paper to prevent sticking.
Freezing Peanut Butter Butterfinger Cookies
- Freeze cookie dough balls for up to 3 months in a ziplock bag. This allows you to bake fresh cookies any time!
- Baked cookies can also be frozen in a sealed container for up to 4 weeks.
Reheating Peanut Butter Butterfinger Cookies
- Oven: Preheat the oven to 350°F and warm cookies for about 5-7 minutes until they are soft.
- Microwave: Heat individual cookies on a microwave-safe plate for about 10-15 seconds. Enjoy them warm!
- Stovetop: Place cookies in a skillet over low heat for a few minutes, flipping occasionally until warmed through.
Frequently Asked Questions
Here are some common questions about making Peanut Butter Butterfinger Cookies.
How do I make my Peanut Butter Butterfinger Cookies thicker?
To achieve thicker cookies, chill the dough longer before baking. This helps retain shape during baking.
Can I use different candies instead of Butterfinger?
Absolutely! Feel free to substitute with other candy bars like Snickers or Reese’s Pieces for a different flavor twist.
What if I don’t have baking powder?
You can substitute baking powder with an equal amount of baking soda, but add an extra acid (like lemon juice or vinegar) to activate it.
How long do these cookies last?
When stored properly in an airtight container, Peanut Butter Butterfinger Cookies will last about 3 days at room temperature or longer if frozen.
Final Thoughts
These Peanut Butter Butterfinger Cookies are truly exceptional! Their soft texture combined with crunchy bits of candy creates an irresistible treat. Feel free to customize them by adding nuts or experimenting with different candies. Give this recipe a try; you won’t be disappointed!

Peanut Butter Butterfinger Cookies
- Total Time: 30 minutes
- Yield: Approximately 24 cookies 1x
Description
Peanut Butter Butterfinger Cookies are an irresistible treat that combines the rich, creamy taste of peanut butter with crunchy bits of Butterfinger candy. These cookies are soft, thick, and bursting with flavor, making them the perfect addition to any gathering or a delightful indulgence for yourself. Whether you’re hosting a party, preparing after-school snacks, or simply craving something sweet, these cookies will elevate your dessert experience to new heights. Easy to make and freezer-friendly, they’re sure to become a family favorite.
Ingredients
- 3/4 cup softened butter (1 and 1/2 sticks)
- 1 cup peanut butter (not natural)
- 1/2 cup granulated sugar
- 1/2 cup packed brown sugar
- 1 large egg
- 1 and 1/2 teaspoons vanilla extract
- 1 and 1/2 cups all-purpose flour
- 16 ounces chopped Butterfinger candy
- 1/2 teaspoon baking soda
- 1/2 teaspoon baking powder
- 1/4 teaspoon kosher salt
Instructions
- Preheat oven to 350°F.
- In a large bowl or stand mixer, beat softened butter until creamy. Add sugars and mix until fluffy.
- Incorporate peanut butter, then add egg and vanilla. Mix until fully combined.
- Gradually add flour, baking soda, baking powder, and salt; mix gently.
- Fold in chopped Butterfingers.
- Chill dough for at least 15 minutes.
- Shape into balls and place on lined baking sheets.
- Bake for about 10 minutes until edges are set but centers remain soft.
- Cool on the pan for five minutes before transferring to a wire rack.
- Prep Time: 20 minutes
- Cook Time: 10 minutes
- Category: Dessert
- Method: Baking
- Cuisine: American
Nutrition
- Serving Size: 1 serving
- Calories: 150
- Sugar: 8g
- Sodium: 75mg
- Fat: 8g
- Saturated Fat: 3g
- Unsaturated Fat: 5g
- Trans Fat: 0g
- Carbohydrates: 17g
- Fiber: <1g
- Protein: 3g
- Cholesterol: 15mg